How To Accessorize Your Home Bar
After an exhausting day in the office, a tall drink can be just what you need to wind down and relax. But who says you have to conquer a crowded pub to satisfy your cravings?
Create your very own bar — perfect for enjoying alone or entertaining an entourage — right in your apartment living room.
Step 1: Choose the space
Even if your apartment didn’t come with a wet bar and wine refrigerator, you can still designate a special space for your things. Utilizing built-ins – whether a bookshelf or desk – is a way to maximize space that may not be getting used to its full potential.
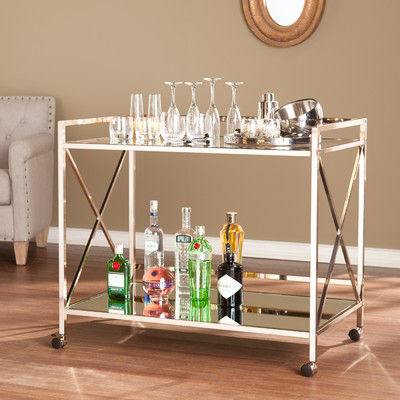
If you’re limited on built-ins or counter space, consider purchasing a bar cart for storage. This is not only a great way to entertain without interfering with your kitchen space but has the convenience of being on wheels.
Step 2: Choose the accessories
Now that you’ve decided on where your bar will reside, it’s time to figure out what will go in it. We recommend:
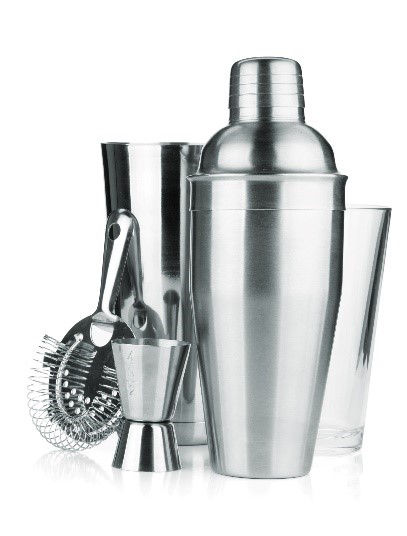
- Bar tool set: From ice buckets to martini shakers, every great host and bartender knows that concocting a drink takes more than just the ingredients people actually consume. Investing in a solid bar tool set is often cheaper than buying every item individually and ensures all of your pieces match. You may not know how to use every little gadget, but let’s be honest: Just their presence will step up the look of your bar and impress your guests.
- Glasses: Step away from the red cups. Your apartment is a classy establishment, after all. Build up your glassware collection with a variety of styles for every spirit – from red wine glasses to champagne flutes to beer mugs. If you don’t have the storage space to accommodate multiple sets of glasses, consider purchasing just a few of each style individually. This way, you have something for every beverage you’re serving. Pro tip: Stores often have free glasses up for grabs following in-store wine and drink tastings.
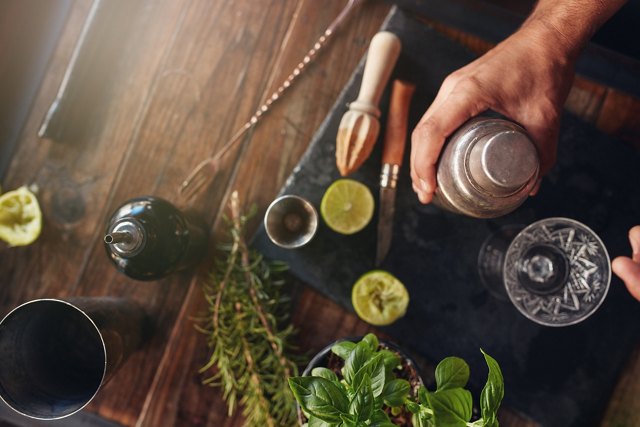
- Knife & cutting board: Make your guests feel like they’re drinking at an established bar by adding a lemon or lime wedge to the side of their drink. But don’t lug out the usual kitchen cutting board. Every bar should have a mini-cutting board and knife designated specifically for cutting garnishes.
Step 3: Choose the décor
Everyone knows that the best bars are the ones that offer a great ambiance. Your bar should be no exception. Add some personality to your space by completing it with some fun decorations.
- Signage: Make your bar pop by adding a fun sign that shows your guests where the party is at. Choose a classic, LED bar sign that plugs in, or opt for a sign that shows off your favorite brand of beverage.
- Art: If a neon sign isn’t your style, consider maintaining that bar-like feel with some fun, happy-hour inspired prints. Whether you choose a clever quote or an abstract painting of a glass, both will serve as great conversation starters.
- Cocktail napkins & coasters: Inviting a group over? Ensure the rest of your furniture stays protected by supplying some stylish napkins and coasters for your guests.
- Wine corks: Repurposing your leftover wine corks is a fun way to decorate your bar area. From cork boards to wreaths to monogramed signs, there are tons of DIY ideas for getting creative with corks.
Remember, great bars aren’t established overnight. It might take several months to build up your collection, especially if you’re wanting to spring for the more expensive accessories and brands. But don’t get discouraged. Good things come with time, just like a bottle of fine wine.


